
Panzer Grenadier Headquarters Library
| Panzer Grenadier | Infantry Attacks | Modern War | ||
|---|---|---|---|---|
|
|
|
||
|
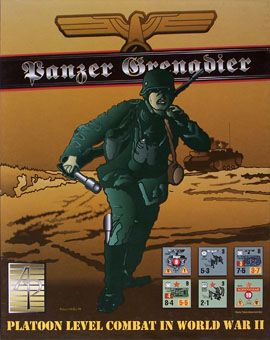
The foundation and heart of the Panzer Grenadier universe is, of course, the Panzer Grenadier series which began all the way back in 2000 with Panzer Grenadier. |
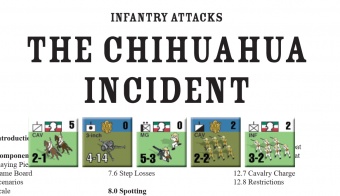
In 2009 the core ruleset was modified and expanded to support World War I warfare and the Infantry Attacks series was born with the launch of Chihuahua Incident. |
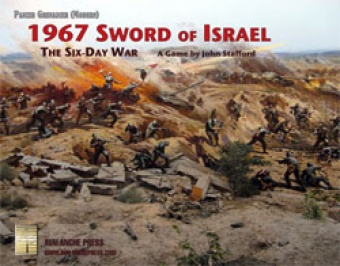
In 2013 the core ruleset was again revised to support more contemporary engagements and the Modern War series was born with the launch of Sword of Israel. |